How to Review a Teapot: Pour Test, Heat Retention, and Cleanup Checklist
A repeatable framework for judging any teapot — how to test the pour, measure heat retention, check handle...

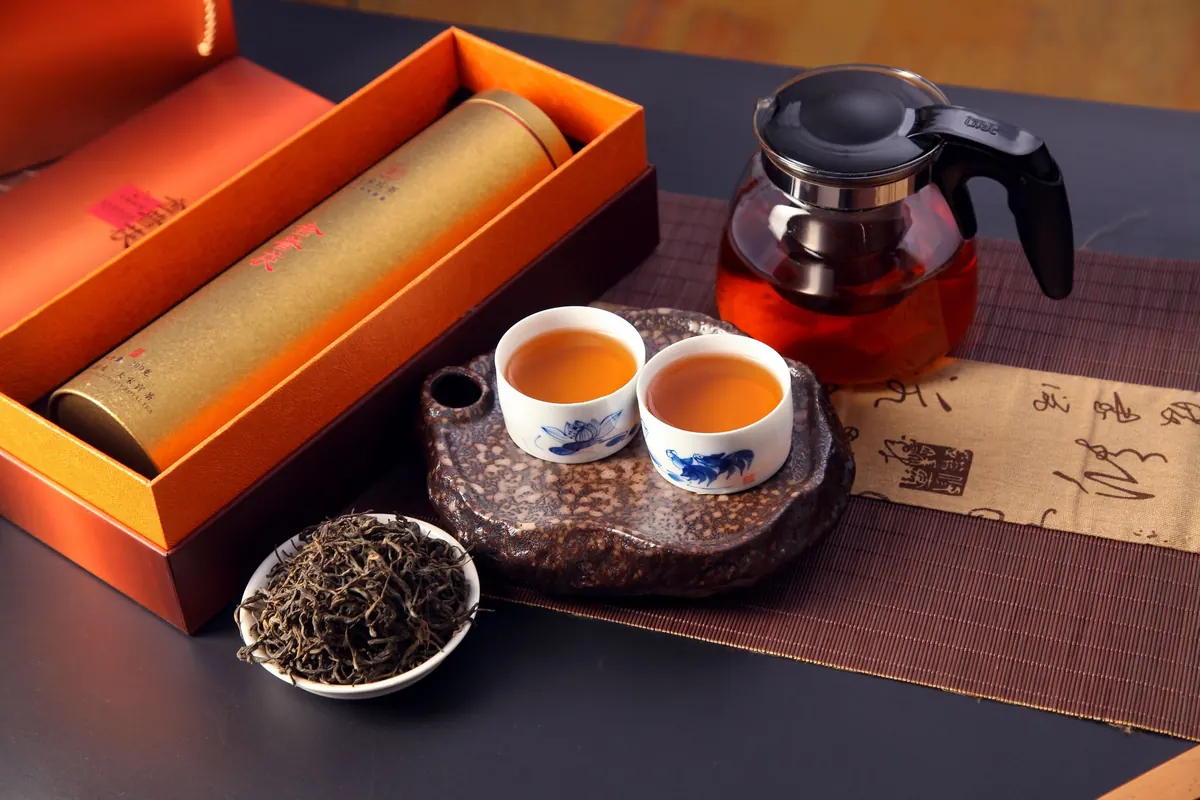
Gongfu brewing has a reputation for fussiness. Photos of carved tea tables, wooden tongs, picks, and rows of thimble-sized cups suggest a hobby that needs its own room. It doesn't. The method is simple at its core: a lot of leaf, a little water, and several short infusions poured in quick succession. Everything else is decoration.
If you own a small teapot or a gaiwan, a cup, and a kettle, you can brew this way tonight. What follows is the shortest path from curious to competent, using gear you likely already have.
Gongfu isn't a tea style. It's an approach. Western brewing usually means one heaping teaspoon per large mug and a three-to-five-minute steep. Gongfu flips that: a small vessel, a generous amount of leaf, and steeping times counted in seconds rather than minutes.
Two things happen as a result. Because water and leaf separate quickly, you decide exactly when extraction stops. And the same leaves get re-steeped many times, often six to twelve rounds, each tasting a little different. A tea that seems flat in a mug can reveal distinct stages this way: a bright opening, a sweeter middle, a deeper finish.
The practical upside is flavor without punishment. Strong tea, no bitterness, and a session that lasts as long as your attention does.
You need less than you think. Here is the whole list:
Optional extras: a strainer, a small pitcher, a tray, a tea towel. A tray catches drips, but a folded towel does the same job for free. Buy the extras only if you find yourself wanting them.
Start with roughly 5 grams of tea per 100 ml of water. That's about a heaping tablespoon of loose oolong or a lightly packed tablespoon of rolled leaves. Then adjust by type:
No scale yet? Fill the dry vessel about one-fifth full and correct next time. Weighing your tea twice teaches your eye more than any chart.
Most oolongs, black teas, and pu'er want water close to boiling, around 95–100°C. Green and white teas prefer 75–85°C; boiling water turns delicate leaves bitter within seconds. Without a thermometer, boil the kettle and let it rest a minute or two for greens, or pour from a little height to cool it.
A rinse is optional and often useful. Pour hot water over the leaves, then immediately pour it off without drinking. This wakes tight leaves, rinses dust from aged teas, and warms your vessel. Do it for oolongs, pu'er, and any aged tea. Skip it for most greens and fresh whites, where you'd be pouring flavor away.
Every tea responds differently, and the fix is usually one of three small moves.
Shorten the next infusion, drop the water temperature a few degrees, or use less leaf. Bitterness almost always means too much time, heat, or quantity — rarely bad tea.
Lengthen the steep, raise the temperature, or add more leaf next session. Very hard water can also mute a tea; try filtered water and taste the difference.
Push later infusions longer — a minute or more is normal by round eight. If flavor dies early, the leaf may be spent, or your ratios were light to begin with.
Keep the kit where you can see it. A gaiwan on the counter gets used; one in a cupboard does not. Two or three rounds count as a real session, so this doesn't require an afternoon — a quiet twenty minutes is enough, and it's an easy way to slow down after work.
One note worth keeping in mind: gongfu means more leaf per cup than most people are used to, so the caffeine adds up faster than it looks. If you're sensitive, brew in the morning, keep the sessions short, or lean toward white and lightly oxidized oolongs. If you have a medical condition or take medication that interacts with caffeine, check with a healthcare professional before making strong tea a daily habit.
Start with one tea you already like. Use the numbers above as a rough frame, not a rule, and change one thing at a time — a few extra seconds, a little less leaf. Within a week you'll have a feel for the rhythm: pour, wait, pour again. That's the whole craft, and it's yours to keep.
Photo: 荼兰 DSGC / Pexels
A repeatable framework for judging any teapot — how to test the pour, measure heat retention, check handle...
A beginner's guide to tea accessories: the few tools that genuinely improve your brewing, the order to buy...
Loose leaf and tea bags compared on flavour, cost per cup, convenience and waste — plus a practical way to...